Thursday, September 1, 2011

Some Wood added...

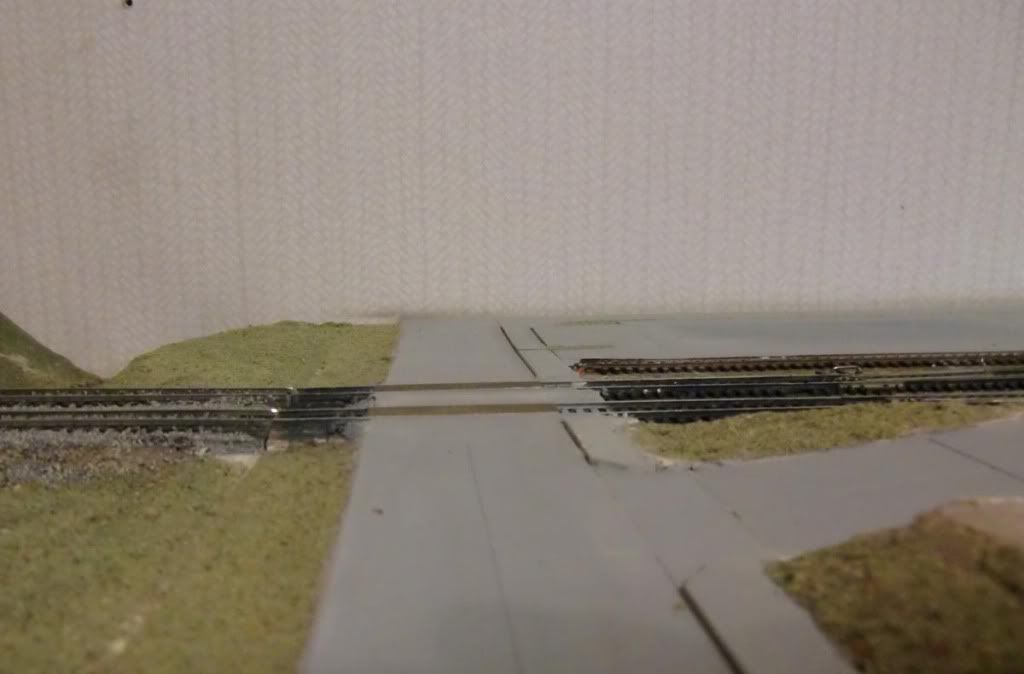
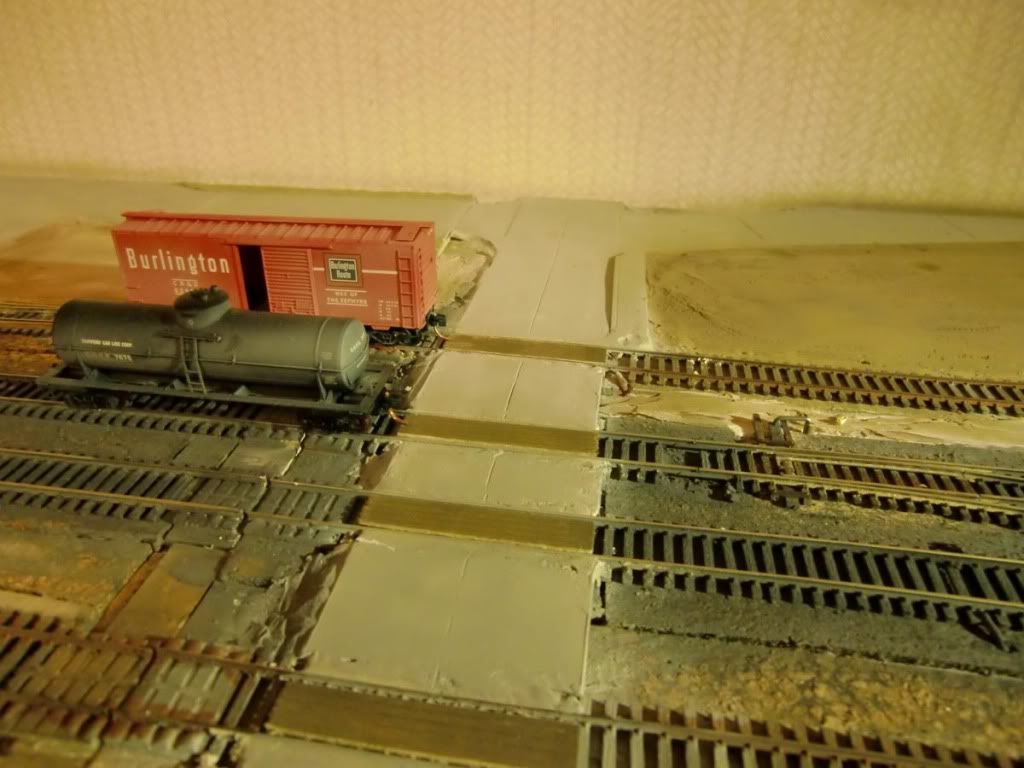
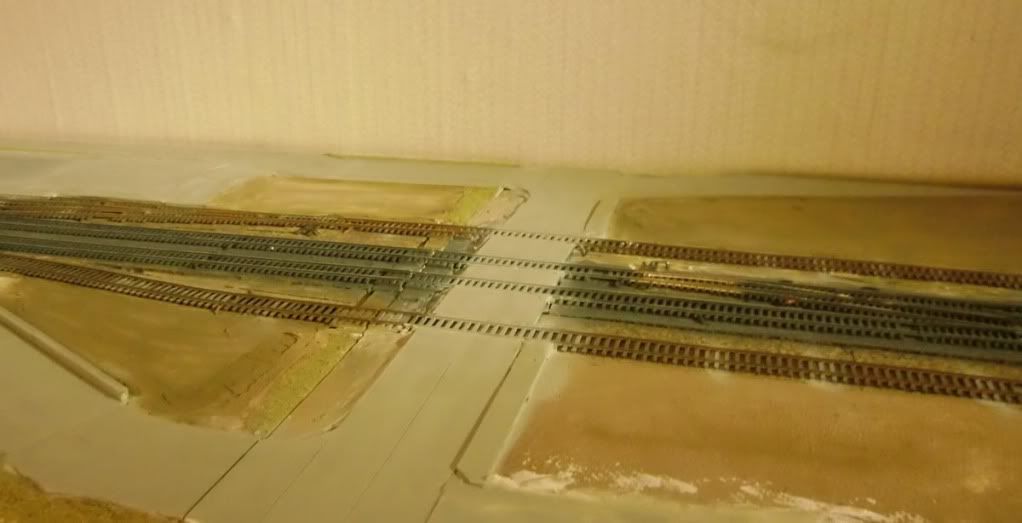
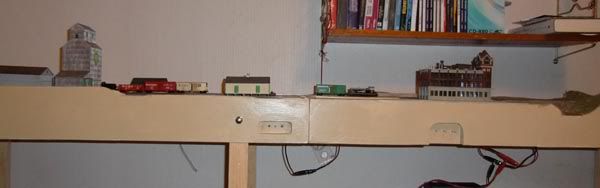
...makes it look much better. Here's the Mill Street Crossing


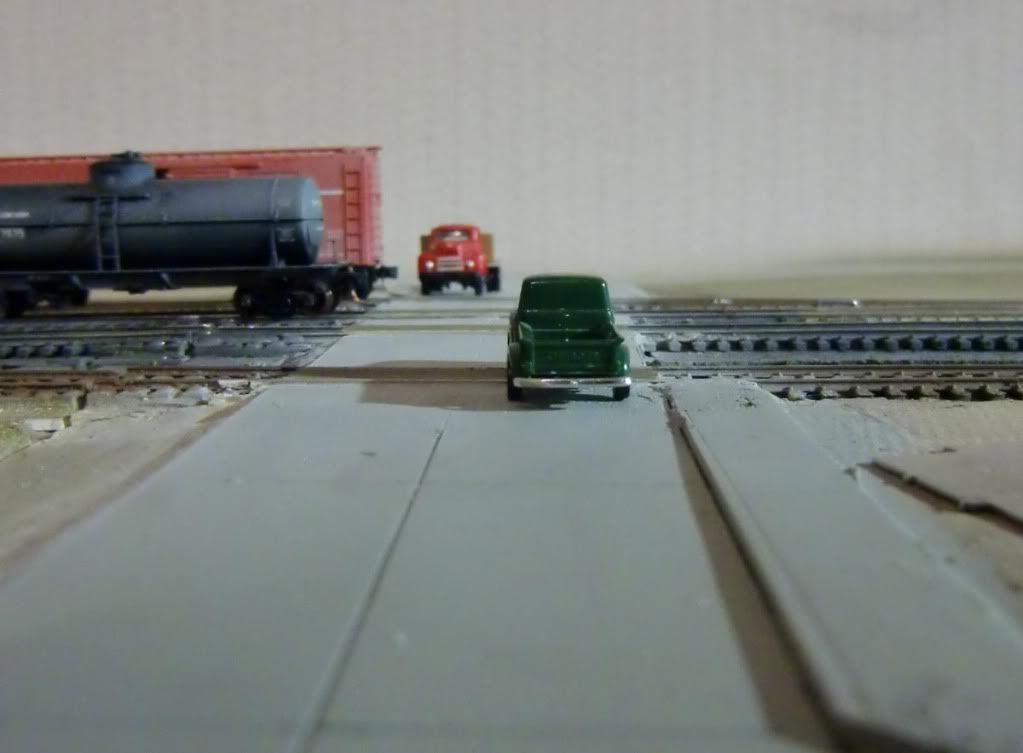
And Main Street crosses four tracks


"Cabwiew". Hmmm, I must find some better background than the old wallpaper.


North Eastern Scale Lumber #354(?) with som PS Dirt if someone wonder.

Wednesday, August 31, 2011

To late...

... in the evening when it's work tomorrow?

Nevertheless some painting have been done on Main Street crossing the tracks.

Sunday, August 28, 2011

Progress Report

After a nice family weekend with a crayfish party there been some work done. The track got painted, mainline with Tamiya XF-63 "German Grey" and the sidings with Polly Scale "Dirt" and some ties in "D&H Grey"


A close lookup on the elevator siding with it's worn down track laid with the intention to look real bad


Tuesday, August 16, 2011

Some tests

Decision making? PS Dirt + D&H Grey or just D&H Grey, which track suits the freightshed and elevator best...


Saturday, August 13, 2011

Just for fun...

The Depot section are now enough ready to make some switching (and testing). The module set have been mounted in the right place but still there are some stuffs that hasn´t been moved.

The shelf are going to be replaced by a background and som lights.


Just for fun a number of buildings and cars were placed on their right location to test the appearence


Tomorrow it's time for the missing four switch controls to get in place...

Thursday, August 11, 2011

Extra 265 West

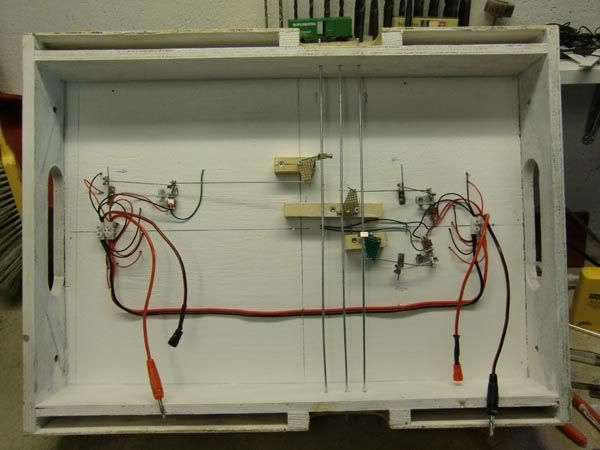
"Mill Street" from down under. Only thing missing are the knobs on the control rods


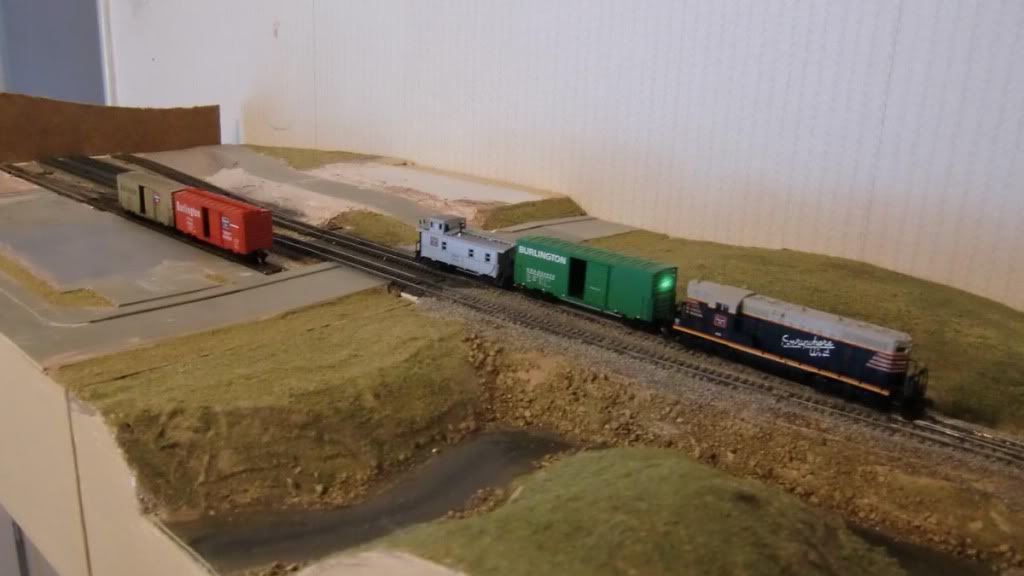
Extra 265 West ready for switching (and testing). The tracks were really dirty and the loco need some cleaning to. And there is a BIG difference between this Atlas GP-7 and my favourite Kato NW-2. The NW is much less sensitive to dirty track...

(Click picture for larger)

Switch Control (part 1)

I prefer to control the switches manually and want to have the possibility to chose which (or both) side the operator works from.

I use levers of 1mm Piano wire shaped like a hook and bearings of 2mm brass tubing to transform the movement down trough the module
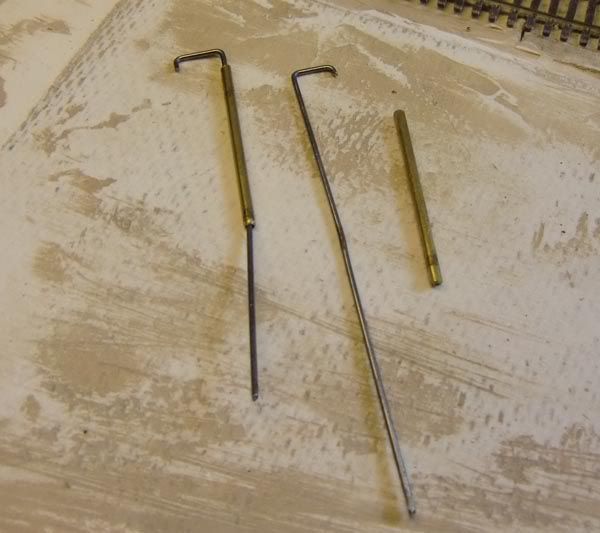

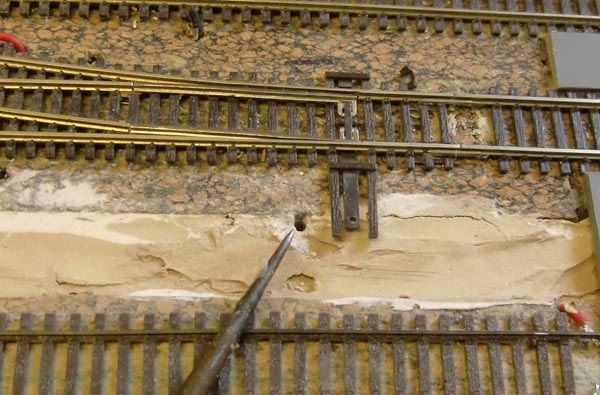
First step is to drill a 2mm hole next to the switch (at the same measure as the hook have)

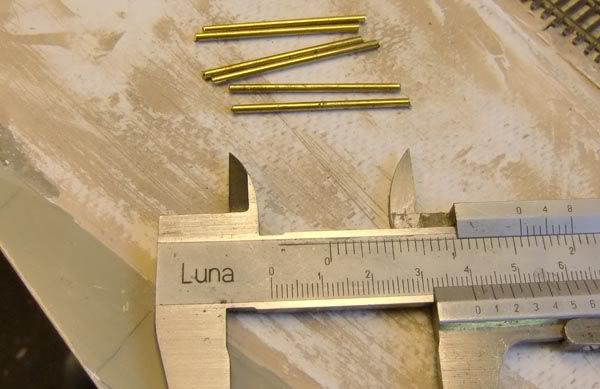
I cut the brasstubing in pieces with my Dremel Multitool and grind it smooth

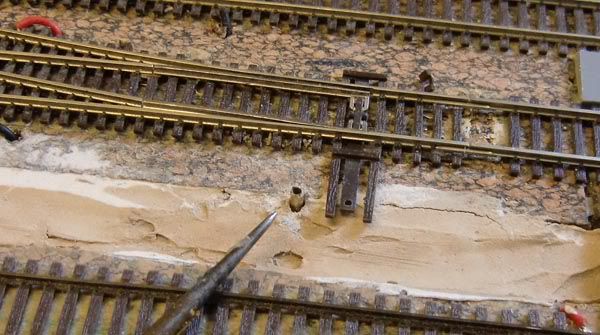
I press the tube in to the hole with my scriber.

I make small plates of scrap brass to secure the tube. One 2mm hole for the tube and one 3mm for a fastening screw.
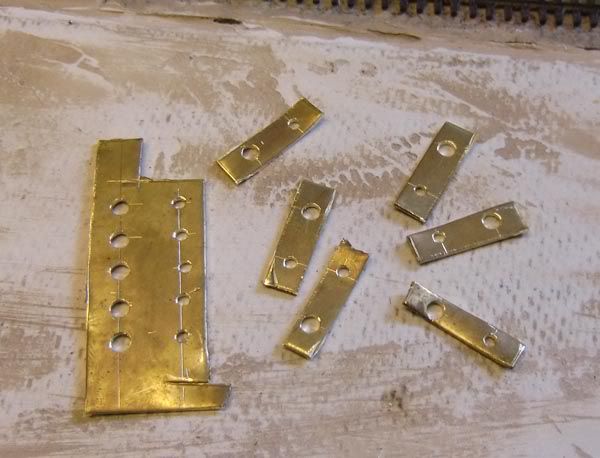

After a secont check that the tube levels i solder the plate and tube together
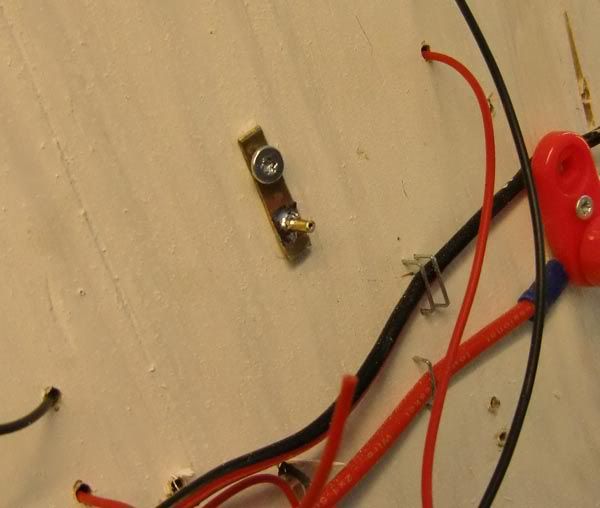

(To be continued)