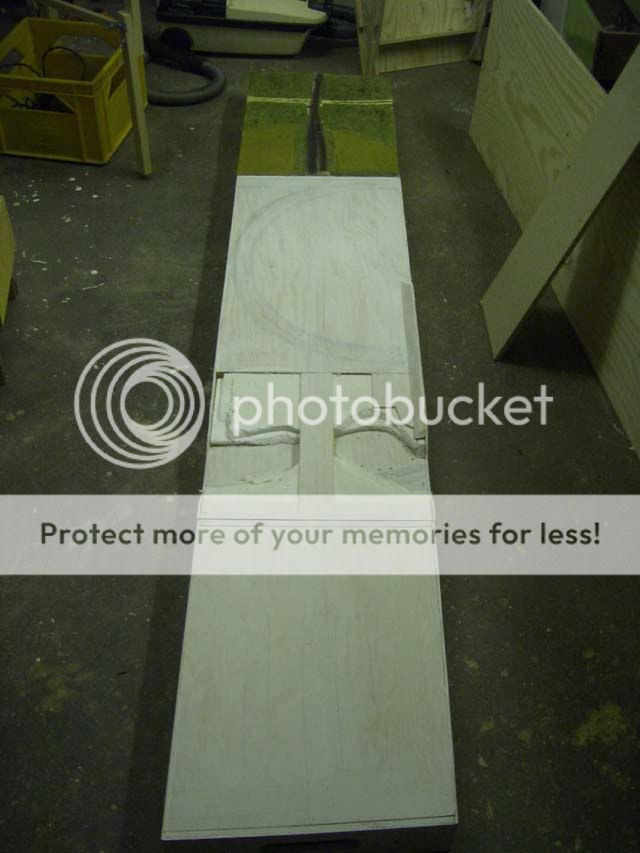
A sheet of 0,75mm styrene was cut in a 4cm slice and scored with a knife in "concrete slabs"
Sunday, December 27, 2009
Roadworks
Among Father Christmas and swedish meetballs there been some small works on the modules. The road that cross the module was this evenings project.

A sheet of 0,75mm styrene was cut in a 4cm slice and scored with a knife in "concrete slabs"

A sheet of 0,75mm styrene was cut in a 4cm slice and scored with a knife in "concrete slabs"
Wednesday, November 11, 2009
Landscaping
Sunday, November 8, 2009
Test and trials
Down under
Monday, November 2, 2009
Tracklaying finished
Depot building
Sunday, November 1, 2009
Painting and trackwork
First step today was to glue the base of the elevator to the module and paint where the track will be placed straight on to the plywood

Next thing to do was to shorten the turnouts to allow a narrower trackspace (cc 28mm)
After that feeders where soldered to the turnouts. I have made the habit to feed every single bit of track.
Monday, October 26, 2009
Not to bad
Todays there was just some time to test the ideas and place the structures as planned.
One special is the track on the "outside" of the buildings, please notice the safety arrangement that will keep the trains on the right place despite the short distance to the edge.
Here´s also the hardboard that outlines some of the roads visible.


One special is the track on the "outside" of the buildings, please notice the safety arrangement that will keep the trains on the right place despite the short distance to the edge.
Here´s also the hardboard that outlines some of the roads visible.
Sunday, October 25, 2009
"Terraforming"
Tracks on the North End
Tuesday, October 20, 2009
Sunday, October 18, 2009
The elevator with some paint
The kit a number of steps further. The corrugated metal sheets got a rusty look with dry brushed silver paint and then a rust wash. The windows and doors got som Burlington Green to make the building a bit more colorful. Tomorrow the elevator will hopefully got the roofs on and a number of more details attached.

Time for buildings
Tuesday, October 13, 2009
One, two and three
Here´s some pictures showing the principle of modularity. How it´s possible for Crawford to grow and fit several spaces
One - The small one, with a short track to a freight shed. South and North End(ca 109 cm)

Two - medium size, with a short run around and an additional track to a grain elevator on the Valley(ca 218 cm)

Three - Next step, with the Junction in place but the not yet grown sideways. (ca 330 cm)

Four, five, six... are still in the imagination of the builder.
One - The small one, with a short track to a freight shed. South and North End(ca 109 cm)
Two - medium size, with a short run around and an additional track to a grain elevator on the Valley(ca 218 cm)
Three - Next step, with the Junction in place but the not yet grown sideways. (ca 330 cm)
Four, five, six... are still in the imagination of the builder.
Saturday, October 10, 2009
Some painting!
Sunday, October 4, 2009
Crawford Valley
Wednesday, August 19, 2009
More testing
This sunday there was a big test driving session. Most things worked out fine except the left switch on the interchange tracks. This is the only Atlas No 5 on the module, all other switches are No 7. I´ve to take a closer look to see whats wrong.
Sunday, July 26, 2009
Testing
Today it was time for some test driving. Two DC-Locos drove back and forward and tested all tracks on the module set. The picture is false because it was one loco at the time (someone, guess who, had made a bad connection). It was meant to have the possibility to disconnect the crossing line with a switch if there is a need for several DCC-boosters on a bigger module layout but that didn´t work out today.

Saturday, July 25, 2009
Sandwichmodule
I regulary build my modules as a "sandwich" with thin (4mm) plywoodsheets and pine strips around a core of styrofoam.
First step is to cut sheet at the right measures (fitting inside the end and sides) I use to cut the sheets in long strips in the hardware store where i buy it.

Then i glue and nail a frame of pinestrips on the top sheet. Also a supporting strip directly beyond the roadbed.

Then i take a brake when the glue hardens. (It´s below somewhere)

Then i fill up the hollow space with styrofoam and glue and nail the bottom sheet.
First step is to cut sheet at the right measures (fitting inside the end and sides) I use to cut the sheets in long strips in the hardware store where i buy it.
Then i glue and nail a frame of pinestrips on the top sheet. Also a supporting strip directly beyond the roadbed.
Then i take a brake when the glue hardens. (It´s below somewhere)
Then i fill up the hollow space with styrofoam and glue and nail the bottom sheet.
In the modulebuilders toolbox
Thursday, July 23, 2009
Soon in the right colours
Subscribe to:
Comments (Atom)
